
How To Install The Java Runtime Environment (JRE) In Ubuntu?
Table of contents
What is Java Runtime Environment (JRE)?
The Java Runtime Environment is a specific software component that runs on the operating system to facilitate running java programs. The JRE is one of three parts that work together to run Java programs.
To develop and run a java application following three components are essential.
- Java Development Kit (JDK)
- Java Virtual Machine (JVM)
- Java Runtime Environment (JRE)
When it comes to the Java runtime environment, there are three main parts they are :
- Java class libraries
- Java Virtual Machine
- Java class loader
What are Java class libraries?
The Java Class Library is a collection of libraries that Java Virtual Machine languages can use during execution. Since the Java Ecosystem isn’t tied to any particular operating system, programs can’t use platform-specific libraries. Alternatively, the Java Platform includes a large set of predefined class libraries with all the functions that modern operating systems require.
What is Java Virtual Machine?
A Java virtual machine is a program that allows a computer to run Java programs and applications that written in other languages that have been compiled to Java byte-code.
What is Java class loader?
The Java Class Loader is a component of the Java Runtime Environment that allows the Java Virtual Machine to load Java classes constantly. Typically, classes are only loaded when they are requested. Because the class loader is in charge of files and system files, the Java runtime system does not need to know about them.
There are many JRE packages available from various projects and organizations these days. The most popular JRE package on Ubuntu is OpenJDK. as an alternative to OpenJDK. You can use Oracle HotSpot as well. Using a different package will not see much functional difference in applications.
We’ll walk through the installation of both JRE packages in this article.
How to install OpenJDK JRE on Ubuntu?
After Java 8, Java 11 is the first long-term support (LTS) release. And oracle releases newer versions of java every six months. And also, there is a trend nowadays that short-term support(LTS) releases and Java 8 are used widely for remodeling for new solutions.
Because of the Java Virtual Machine’s great track record of backward compatibility, default-JRE is ideal for most cases in Ubuntu. And one of the critical things is Ubuntu updates their default -JRE to the latest LTS version.
To install the default version of JRE on Ubuntu, follow the below steps.
Step-01
Execute the following command on the terminal to download package information from all configured sources.
sudo apt-get update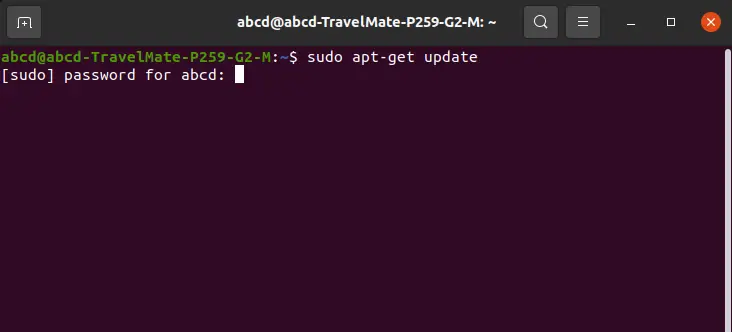
Step-02
Then execute the following command on the Ubuntu terminal to install Java Runtime Environment.
sudo apt install default-JRE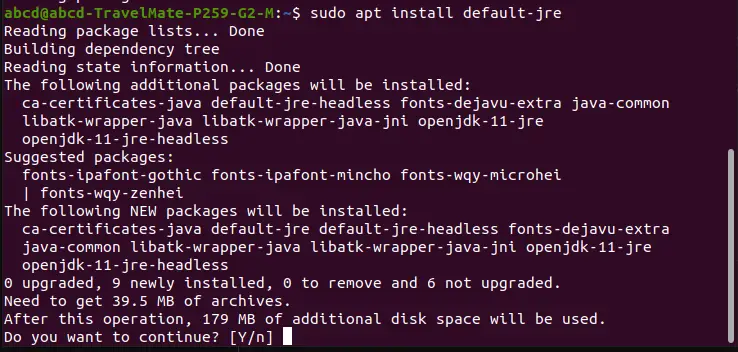
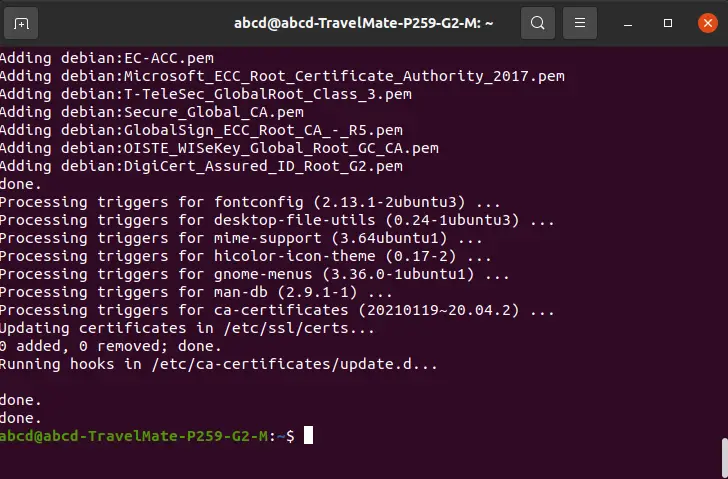
Step-03
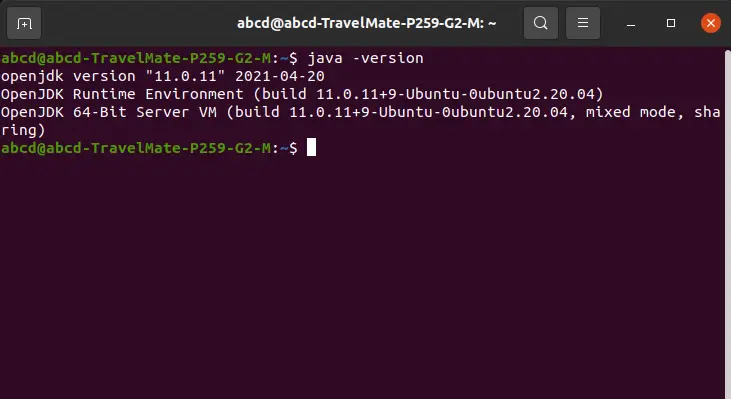
Once the installation completes, you can verify the installation by executing the following command on the Ubuntu terminal and checking the JRE version.
java -versionIt should give you the following screen.
How to Install Oracle HotSpot JRE on Ubuntu?
Oracle Corporation maintains and distributes HotSpot, also known as Java HotSpot Performance Engine, a Java virtual engine for desktop and server systems. It has better performance thanks to techniques like just-in-time compilation and adaptable optimizing. When writing this tutorial, oracle only provides JRE for Java version 8.
Step-01
To install HotSpt JRE, you have to download it from the oracle official website, visit the website using the below URL, create an oracle account, and log in to download the JRE binaries that have compressed in .tar.gz. In this tutorial, we will install Java SE Runtime Environment 9.0.4 on Ubuntu.
TIP: Oracle’s website currently does not provide JRE packages for Java 11 or higher.
First, create a directory for installation for Java Runtime Environment by executing the following command on the terminal.
sudo mkdir /usr/local/javajre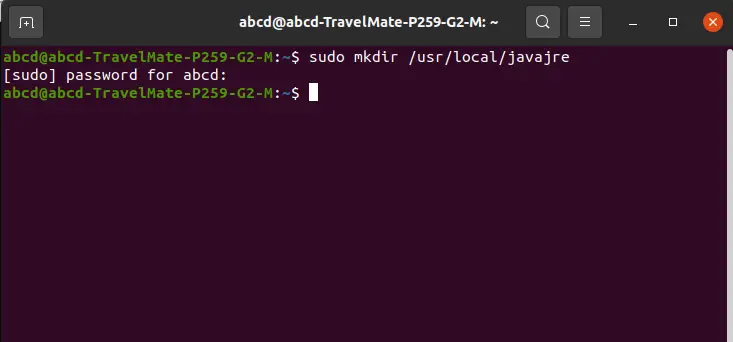
Step-02
After making the directory for JRE execute following command to navigate to the Downloads directory.
cd DownloadsThen execute following command to move the JRE binaries from Downloads directory to javajre directory that we have already created.
sudo mv jre-9.0.4_linux-x64_bin.tar.gz /usr/local/javajre
Step-03
Then run following command on the terminal to navigate to the installation directory.
cd /usr/local/javajre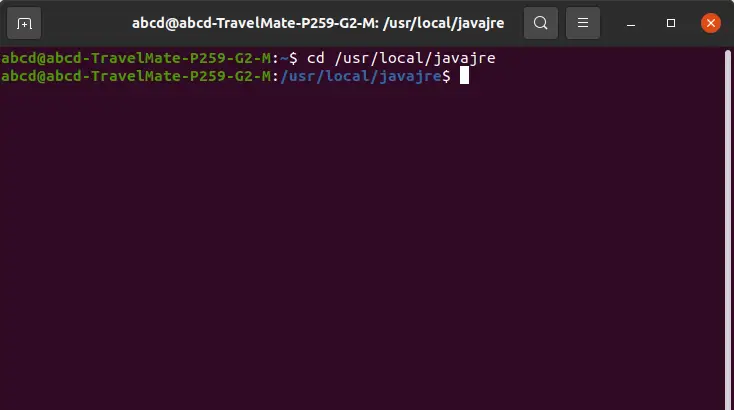
Step-04
Now execute following command on Ubuntu terminal to unpack the tarball.
sudo tar zxvf jre-9.0.4_linux-x64_bin.tar.gz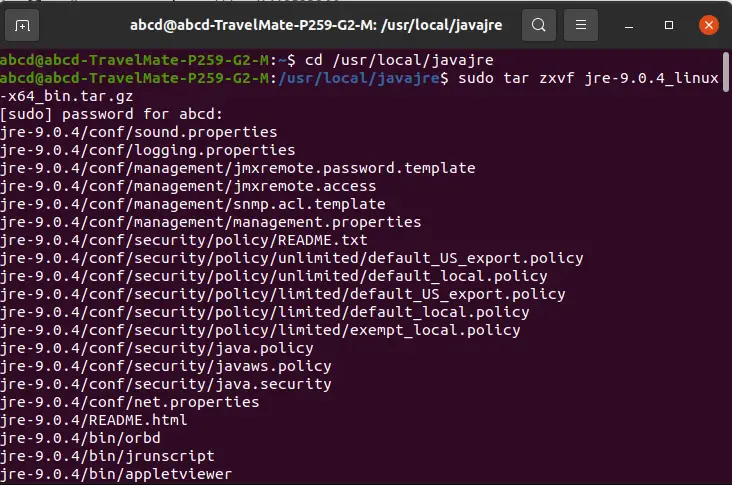
Now the installation is completed and there are another important steps to done.
Step-03
Evan a small amount of space is important in the hard drive so execute following command to delete the tarball and clean your space.
sudo rm jre-9.0.4_linux-x64_bin.tar.gz
Step-04
Execute following command on Ubuntu terminal to let the Ubuntu system know about the JRE installation pathway.
sudo update-alternatives --install "/usr/bin/java" "java" "/usr/local/javajre/jre 9.0.4/bin/java” 1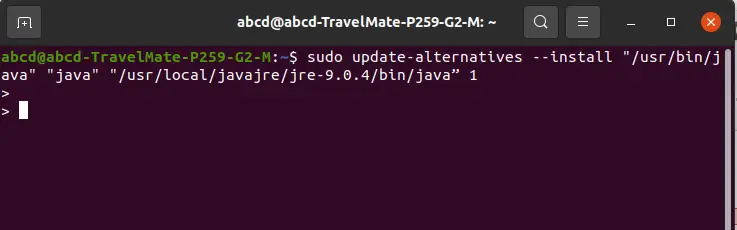
Step-05
After that, execute the following command to verify the installation.
java -version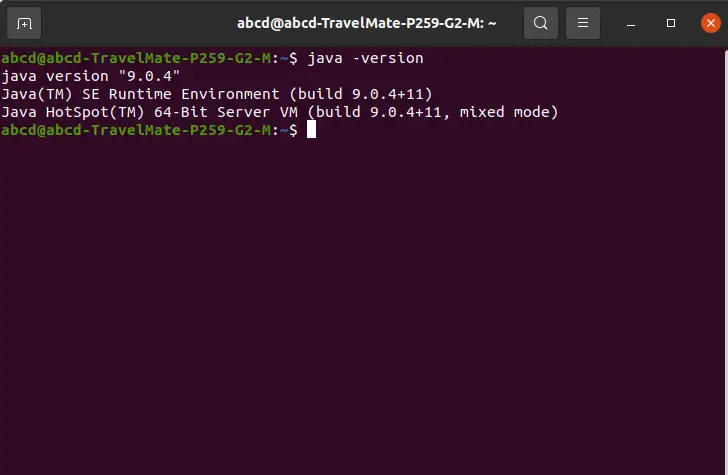
How to Uninstall and remove default-jre java installation from Ubuntu?
The uninstallation process of the default- JRE from Ubuntu is pretty simple and follow the below steps.
Step-01
First type following command on the Ubuntu terminal and don’t hit enter button.
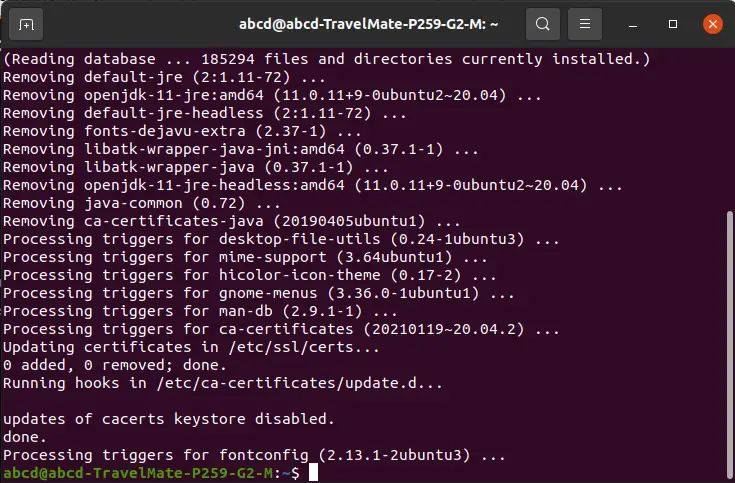
sudo apt-get autoremove default-jdk openjdk-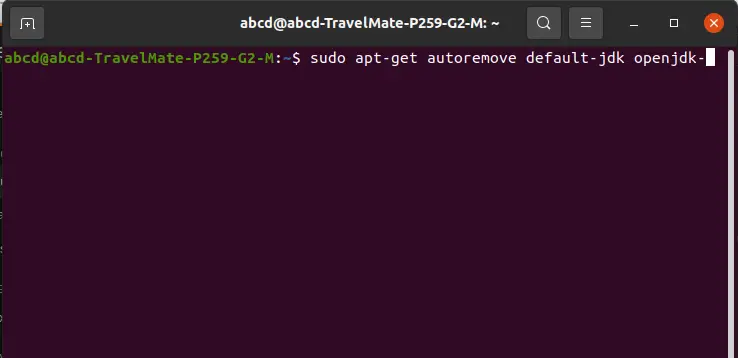
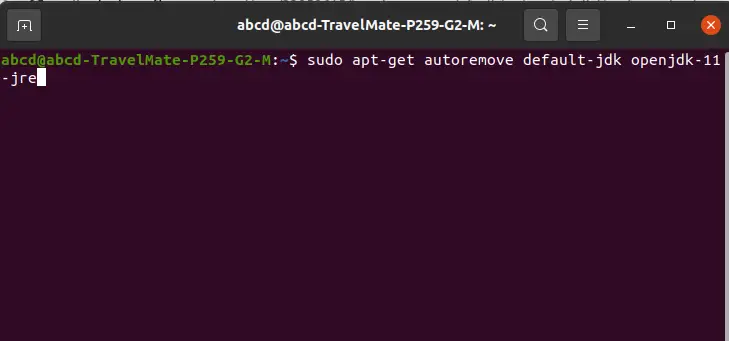
Step-02
Then hit on the Tab button few times until it shows your Java version. In this tutorial you can see it is Java version 11.
After taking the Java version press Enter button to execute the command and type “Y” and then again press enter to continue the process.
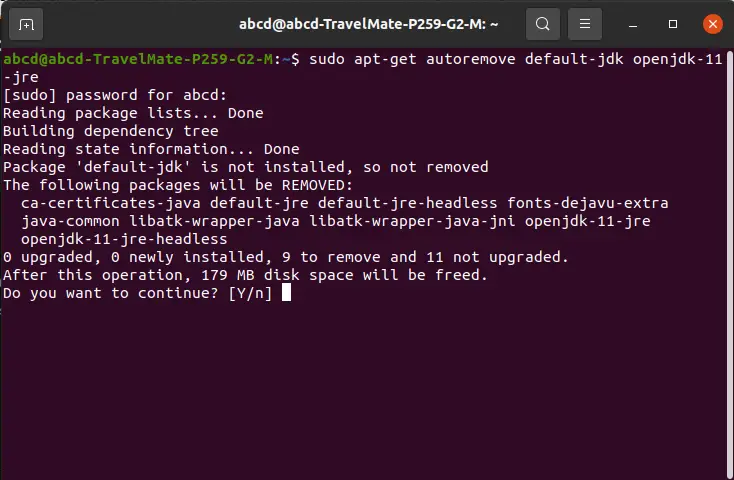
You have now completed the process of deleting Java from your computer.
Leave a Comment