Where To Put Photos In House | Room Picture Ideas & Photowall Ideas
Have you ever stared at a blank wall in your home, wondering where to put photos in house layouts without making the space feel cluttered or overwhelming? It is a common decorating dilemma that stops many homeowners from displaying their favorite memories and personal artwork.
The secret to a great display is choosing the right spots that naturally draw the eye, rather than trying to fill every single empty surface available. By treating photo walls as intentional design features, you can turn ordinary hallways and bedrooms into warm, meaningful spaces.
Smart placement relies on balance, scale, and lighting to keep your favorite snapshots looking purposeful and clean. When you understand how different arrangements interact with your furniture, creating a cohesive look becomes surprisingly straightforward and fun.
From striking gallery grids above a headboard to a minimalist vertical column near your favorite reading nook, there are plenty of creative layouts to try. Mixing various frame sizes and styles adds personality while keeping the overall aesthetic grounded and tidy.
Let us look at some practical ways to arrange your pictures, starting with a bold study desk setup that makes a strong design statement.
#1 Creating a Vertical Photo Column on Narrow Walls
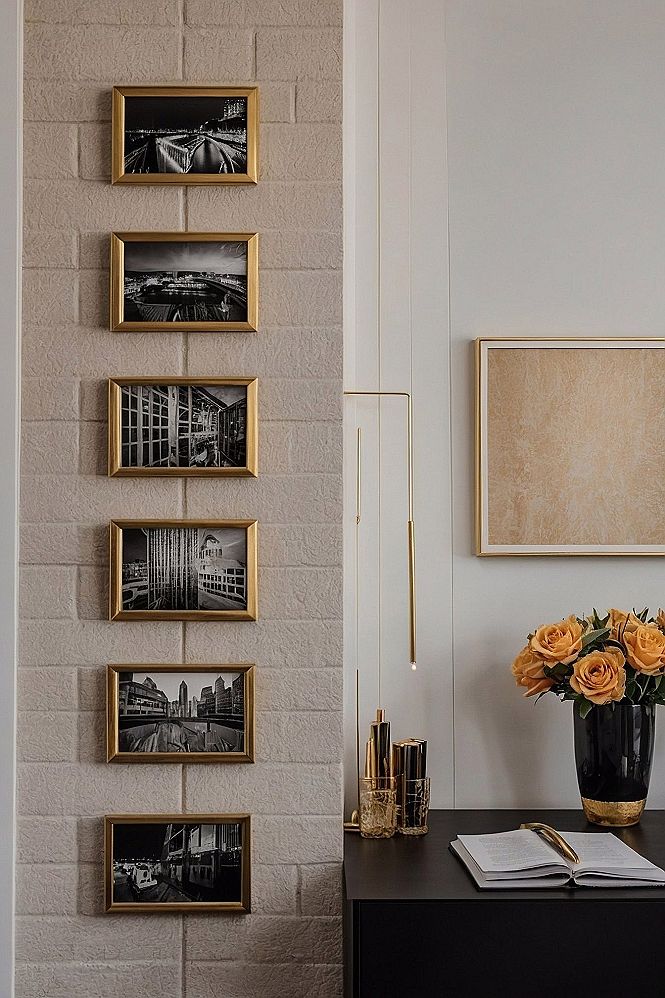
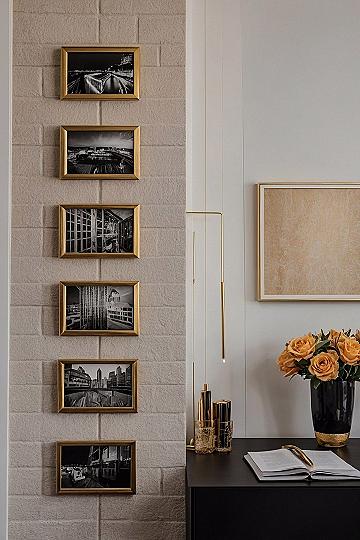
A vertical photo column involves hanging multiple frames in a single straight line from top to bottom. This technique works especially well on narrow wall spaces, pillars, or tight corners where a traditional horizontal gallery wall would not fit. Stacking pictures vertically draws the eye upward, making ceilings appear taller and transforming an awkward blank strip of wall into a purposeful focal point.
When planning a vertical arrangement, keep the spacing between each frame consistent so the column looks neat rather than cluttered. Use identical frames for a clean, unified look, or mix up frame styles if you want a more casual vibe. Measure the wall height before you start, and hang the middle frame right at eye level to ensure the entire column is comfortable to view.
#2 Arranging a Balanced Grid Photo Wall
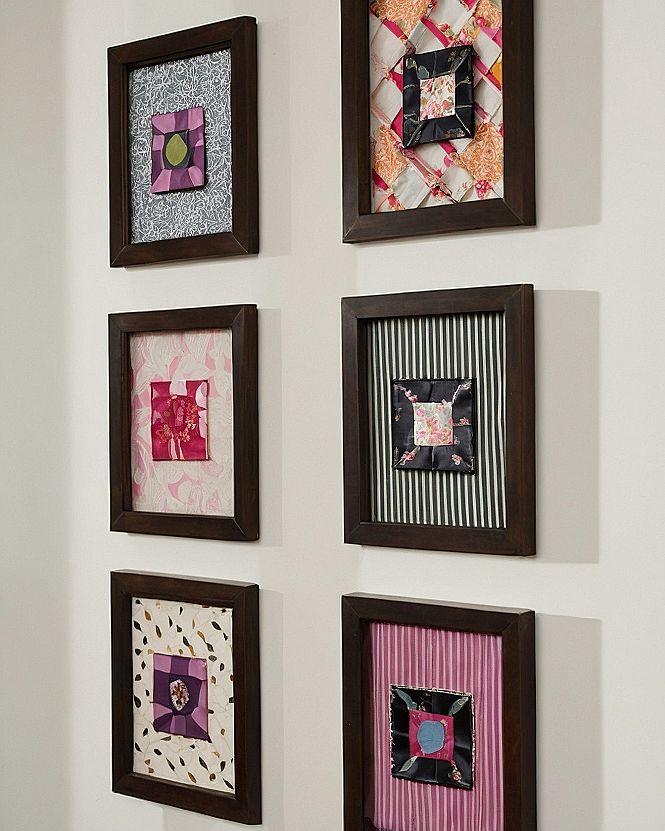
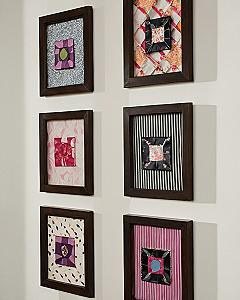
A grid arrangement works so well because it brings a clean, orderly feel to any room. By keeping equal spacing between identical frames, you create a structured display that draws the eye without feeling chaotic. It turns a collection of separate memories into a single, cohesive art installation.
This layout suits homeowners who love symmetry and want a polished look in hallways or living areas. Sticking to uniform frame sizes makes planning the layout much simpler. You can expect a neat, gallery-like result that anchors the space and makes your favorite moments stand out clearly.
#3 Designing a Monochromatic Gallery Wall with Matching Frames
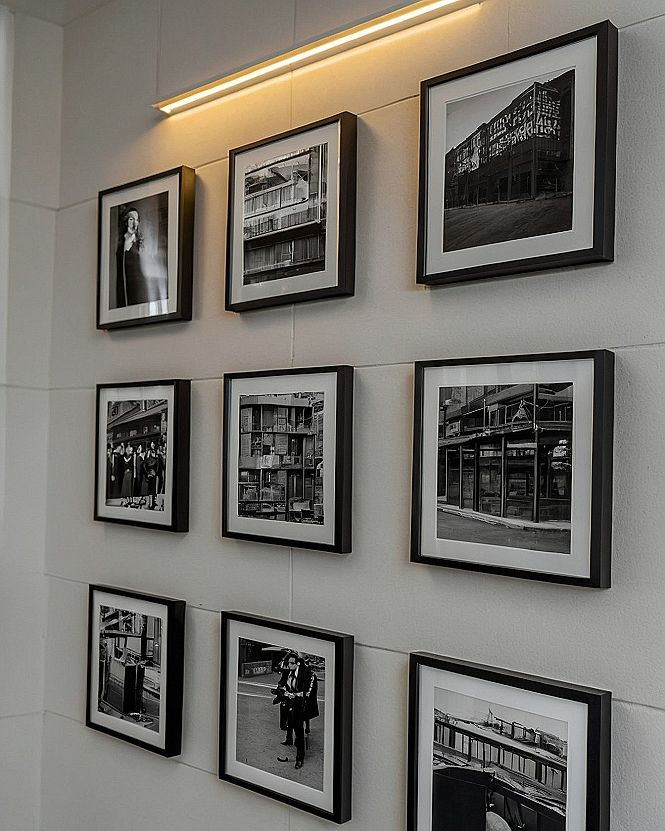
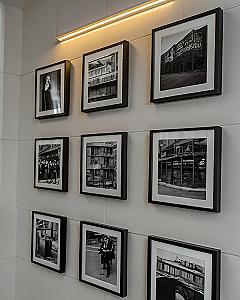
Deciding to use black and white prints with uniform borders instantly creates a clean, intentional look on any empty wall. Sticking to a single color palette removes visual clutter and lets the subjects of the pictures stand out. When you keep the mat sizes and frame widths identical, the entire arrangement looks professionally curated rather than thrown together.
You can easily adapt this style to fit a tighter budget or a smaller room by shopping for multipacks of standard frames and printing your favorite digital snapshots at home in grayscale. If you want to add some warmth later, simply swap the black frames for natural wood tones while keeping the monochromatic pictures inside the glass.
Which style is calling your name?
#4 Hanging Single Statement Frames Beside Large Windows
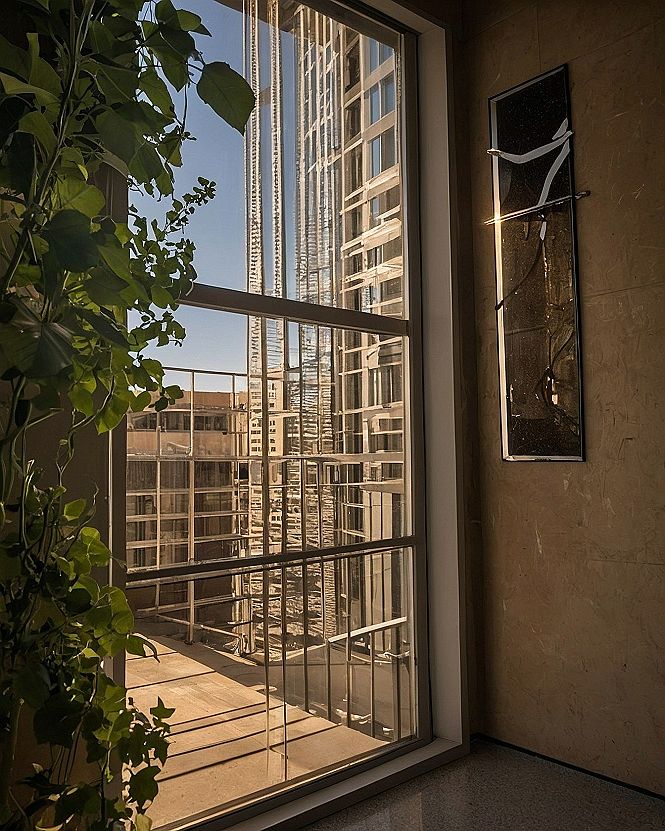
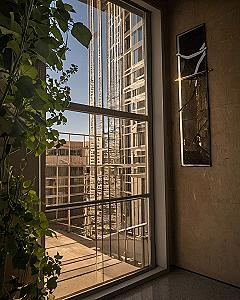
Placing a lone framed picture next to a large window requires careful attention to sunlight exposure. Direct, harsh rays can quickly fade paper prints and damage unprotected photos over time. To preserve your favorite memories, use UV-filtering glass when framing pictures that will hang near bright glass doors or windows. This simple step blocks harmful ultraviolet rays and keeps your photos looking clear and vibrant for many years.
When securing a single frame on a wall section right next to natural light sources, always use heavy-duty wall anchors instead of simple nails. Temperature shifts and drafts near windows can loosen standard hanging hardware over time. Check the wall stability before you mount the piece. Regularly dust the top edge of the frame where airborne particles settle, and wipe the glass with a dry microfiber cloth to maintain a clean appearance.
#5 Displaying Large Scale Portrait Photography Walls
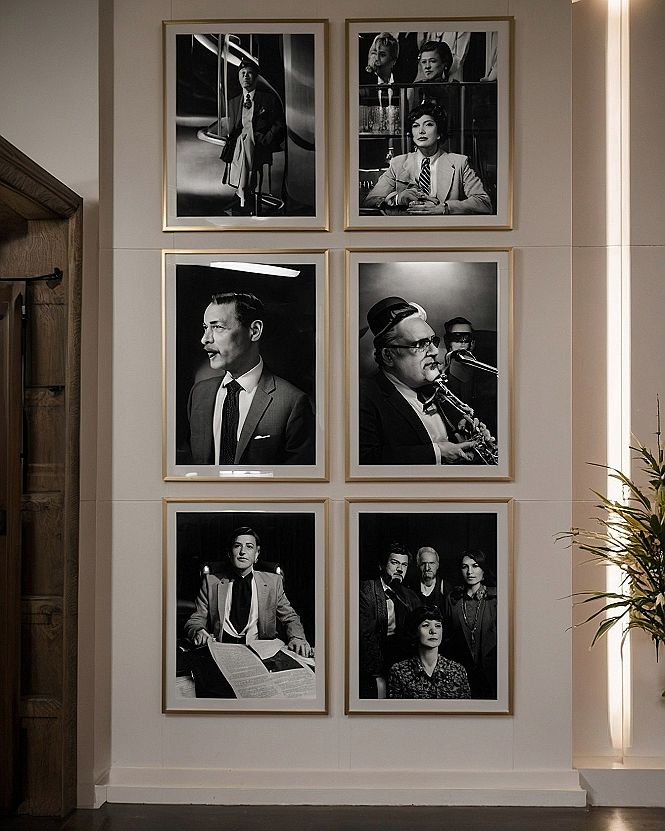
I recommend using large scale portrait prints to fill empty hallway walls with personality and presence. Hanging oversized photos in matching frames creates a bold visual statement that instantly draws the eye and makes a wide corridor feel like a proper art gallery.
If you want to try a slightly different setup, mix horizontal and vertical portraits within the same overall footprint. Just keep the outer edges aligned and use identical matting so the final arrangement stays neat and well ordered.
What's Your Style Personality?
Tap the look that speaks to you most:
Leave a Comment