

Table of Contents
Day-to-day world of technology is advancing to the future.There are tons of image editing software in the online and i am going to introduce one of the best from them. That is Gimp. Gimp is a 100% free open source raster graphics editor. It is the best free alternative to Adobe Photoshop.You can do most of the functions in Adobe Photoshop in GIMP.
GIMP is a multi platform compatible image editor that means it runs on Windows, Linux and Mac Os.The software contains a number of functions that can be used to create amazing images.GIMP has features ideal for novice to advanced graphic designers.The GUI is highly customizable to our needs.
In this Tec article we cover all the things you need to know about GIMP in 2020 and you can skip to sections of the article by clicking on the links below.
GIMP features overview 2020
Advantages of GIMP
Disadvantages of GIMP
GIMP graphical user interface(GUI) overview 2020
How to enable single window mode in GIMP
GIMP Vs Photoshop comparison
How to install GIMP in windows
How to install GIMP in Ubuntu
How to install GIMP in MAC OS
GIMP toolbox overview and features 2020
GIMP Filters overview
Lets see what can we do with GIMP features in 2022
01.Retouch Images
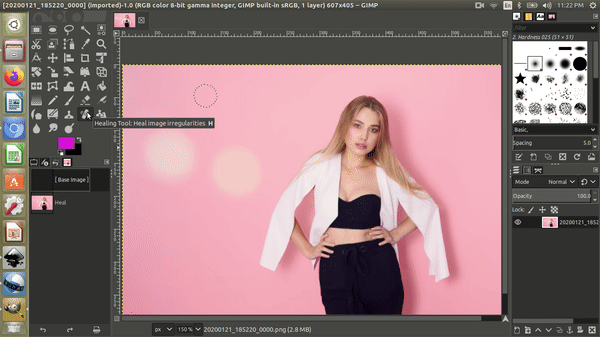
There is a tool called Healing Tool and it can be used to fix image irregularities like acne on face.
02.Scale Images
You can use scale image in menu bar to scale images precisely.
03.Draw Pictures
By using Paintbrush tool in gimp we can easily draw pictures.
04.Conversion of graphical file types
Besides being an open source software GIMP can be used to convert images to different graphical file types like:
bmp, pdf, jpeg, mng, pcx, gif, psd, ps, png, svg, tiff, tga, xpm, and lot of others.
05.Design text and graphic rich banners.
Nowadays interactive banners are part of marketing strategy in many companies and individuals. You can use the tools in GIMP like Text tool to create stunning banners.
Banner types you can design from GIMP.
06.Create animated GIF
By using filters in GIMP you can combine images and create animations.
Advantages and Disadvantages of GIMP
Advantages of GIMP
- Gimp is 100% free
- There are online communities with thousands of GIMP users that you can get help.
- Since GIMP is Open Source source you can edit its source codes and add or change its features.
- Multi Platform compatibility. That means GIMP can install in Windows,Linux and MAC Os.
- GIMP works in the same way to other raster graphic editing applications.
- GIMP is a very memory efficient graphic editor with lower resource consumption so it can be installed in old or slow computers.
- Plenty of free online and offline tutorials to learn GIMP.
Disadvantages of GIMP
- Sometimes it crashes.
- It’s a simple application.
- The text editor does not fit with Chinese texts.
- Can’t select multiple layers at once.
GIMP Vs Photoshop comparison
Adobe Photoshop is a serious competitor for GIMP. let’s have a look at their specifications as a comparison.
| GIMP | PHOTOSHOP |
| 100% Free | Very costly |
| Small File Size | Huge File Size |
| Codes can be edited | Codes can not be edited |
| No mobile version | Mobile version is available |
| Few updates | There are regular updates |
| System requirements are minimal | System requirements are higher |
| Easy to learn | Difficult to learn |
| Supports only for RGB | Supports many color types |
| Source codes can be edited | Source codes can’t be edited |
GIMP graphical user interface(GUI) overview 2022
GUI is one of the most important aspects of a software and it allows users to interact with the tools of the application. Let’s have a look about GIMP GUI. It is highly user friendly and easy to learn for new users. There are two modes in GIMP GUI they are
Allows users to keep all the opened windows as a single window. To enable single window mode in GIMP click on Windows tab in the menu bar and click on Single window mode to activate it.
-
Multi window mode
If you are comfortable with a GUI with multi windows then you can disable it from click on Windows tab in menu bar and click and unticking.
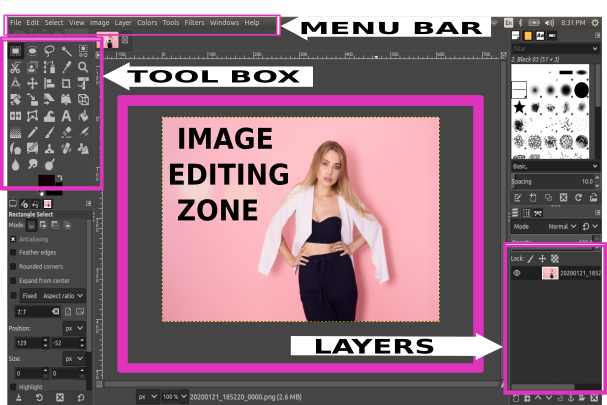
There are 04 major areas on the GUI
01.Menu Bar
02.Tools Box
03.Image editing Zone
04.Layers
How to Install GIMP in Windows
01.Step
Click on the link below and visit official page to download the latest version of gimp.
https://www.gimp.org/downloads/
02.Step
Double click and open the downloaded GIMP .exe installation file. Then follow the instructions in the installation wizard.
How to install GIMP in Ubuntu
01.Step
Open the Terminal using Ctrl+Alt+T and execute below command enter the system password to add PPA
sudo add-apt-repository ppa:otto-kesselgulasch/gimp
02.Step
Copy below command on terminal and hit Enter to download package information.
sudo apt update
03.Step
Execute below command to install GIMP on your Ubuntu Computer.
sudo apt install gimp
How to install GIMP in MAC OS
01.Step
Visit on official GIMP page and download GIMP .dmg file for MAC os.
https://www.gimp.org/downloads/
02.Step
Select your downloaded file and drag it to applications folder.
GIMP toolbox overview and features
GIMP toolbox contains many valuable tools to edit and enhance images. Lets see overview of them and how to use them for image editing projects.
Selection tools of GIMP
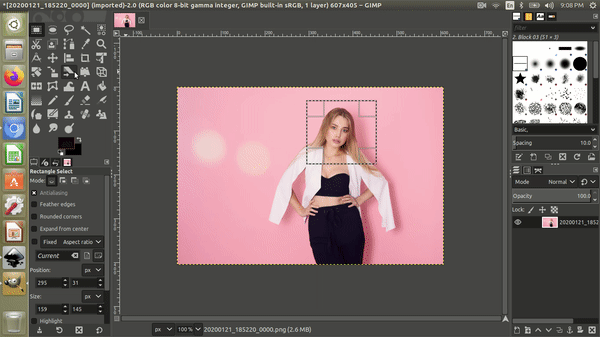
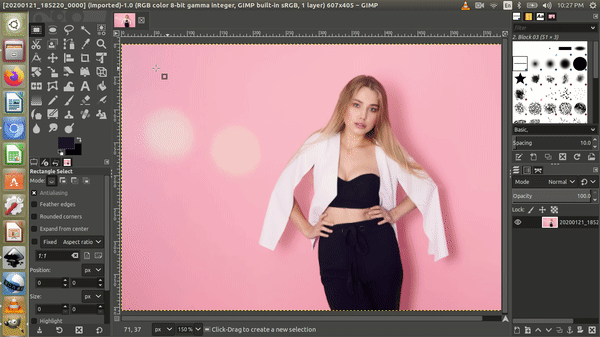
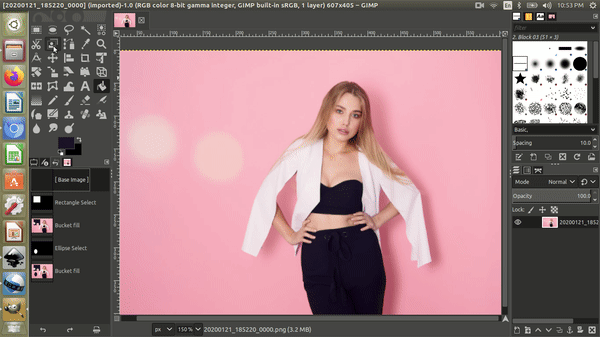
01.Rectangle select tool
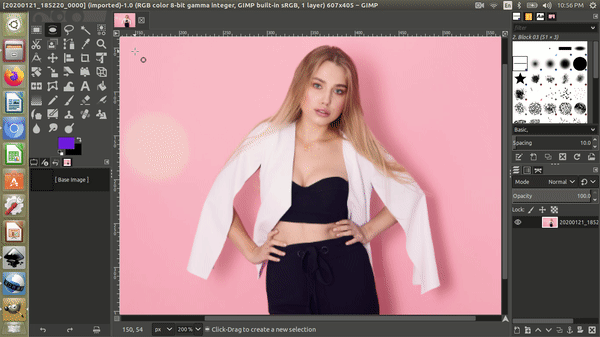
In GIMP we can use Rectangle Select tool to select a four sided rectangular area of the current layer. To use this tool click on a point and move around the image that the area you want to select.
Rectangle select tool hotkey : R
02.Ellipse Select tool
By using Ellipse select tool in GIMP you can select a round shaped area of the current layer.Click on a starting point and drag the mouse pointer around the area you want to select.
Ellipse Select tool hotkey:E

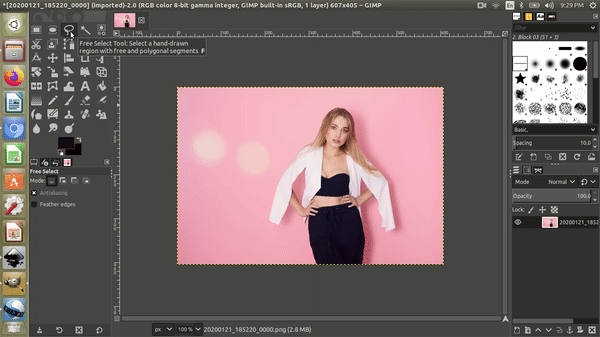
03.Free Select Tool
If you want to select a custom area of the current layer use free select tool. Click on point to point and select the area you want to select.
Free Select Tool hotkey: F
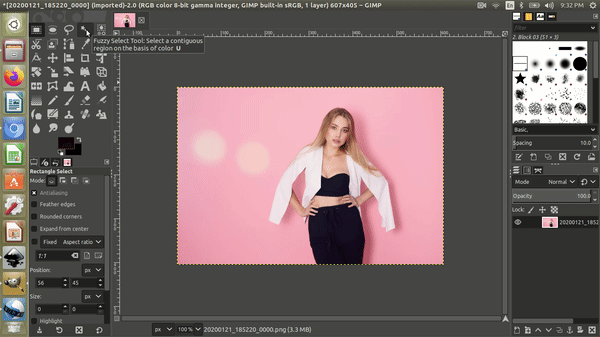
04.Fuzzy Select tool
By using Fuzzy select tool in GIMP you can select contagious areas with the same color.Once you press a point in the picture it begins selecting the contagious ares with the same color.
Fuzzy Select tool hotkey: U
05.Select by color tool
This tool functions very much like Fuzzy Select tool but the difference is Fuzzy select tool selects contagious areas and select by color tool select the areas with the same color regardless of their place.
Select by color tool hotkey: Shift+O

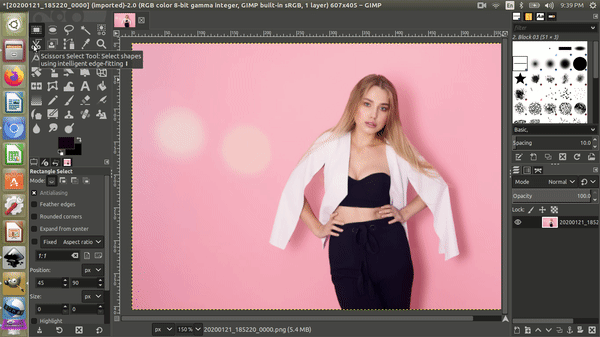
06.Scissors Select tool
GIMP is packed with lots of advanced features and it has many selection tools Scissors select tool one of that. By using this tool you can select an object in an image.
Scissors Select tool hotkey: I
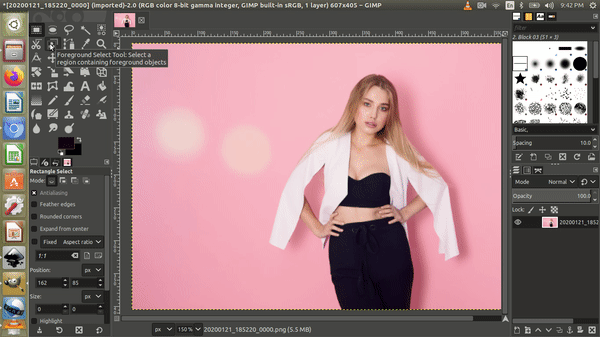
07.Foreground select tool
This tool works pretty much like Free select tool. To make the selection use the mouse pointer and pick an area as little as possible.
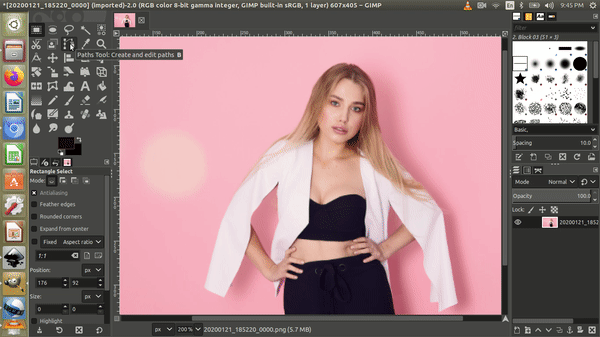
08.Paths tool
By using paths tool you can draw bezier curves and use them to precision selection of objects in an image.
Paths tool hotkey: B
Other Tools
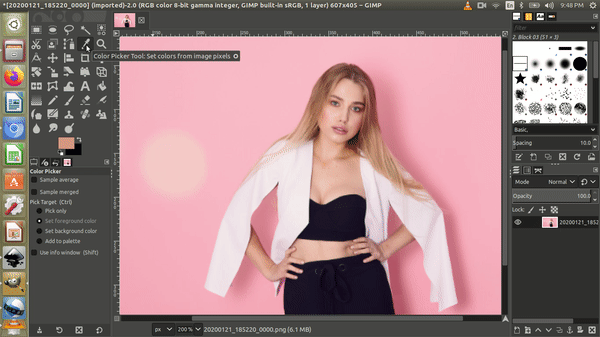
01.Color picker tool
You can use color picker tool in GIMP to pick a color from an image on the current opened layer.
Color picker tool hotkey: O
02.Zoom tool
The zoom tool lets you zoom in on the picture to get a closer idea of the actual pixel composition of the segment. In GIMP you can use this tool to zoom the whole image or part of the image. So you can see the closer view of the area.
Zoom tool hotkey: Z

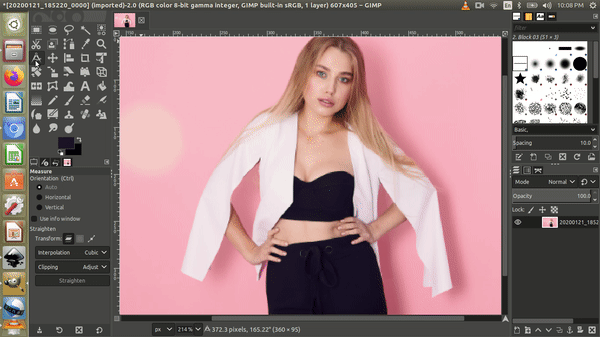
03.Measure tool
GIMP has many powerful tools and measure tool is one of that. By using it you can measure the distances angles within GIMP. Just click and drag the mouse pointer to get the distance and angle.
Measure tool hotkey: Shift+M
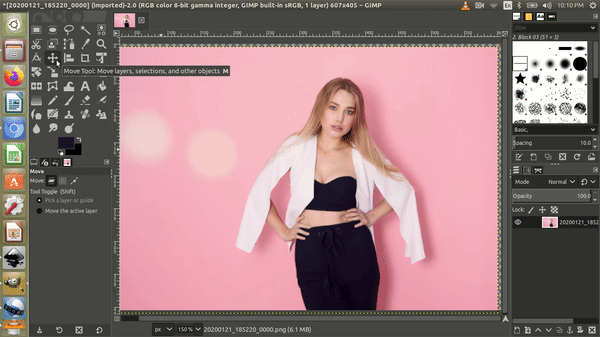
04.Move tool
Move tool is one of the most important tools for any kind of image editors. By using the Move tool in GIMP we can move texts,layers,paths and selections easily.
Move tool hotkey: M
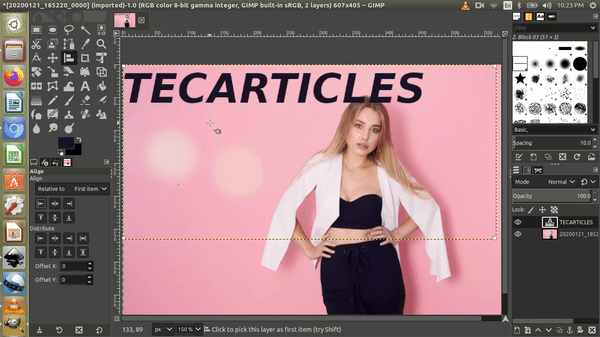
05.Alignment tool
Once this tool is enabled you can align the image in the GIMP active layer.
Alignment tool hotkey: Q
06.Crop tool
By using the crop tool in GIMP you can remove unwanted parts of an image.
Crop tool hotkey: Shift+C
07.Rotate tool
When editing images most of the time we need to rotate layers,selections and paths by using Rotate tool in GIMP we can do it without hesitation. Also we can determine the axis of rotation.
Rotate key hotkey: Shift+R
08.Scale tool
We need to adjust the size of the image according to the way we use it. With the help of scale tool in GIMP we can adjust the width and height of the image precisely.
Scale tool hotkey: Shift+T

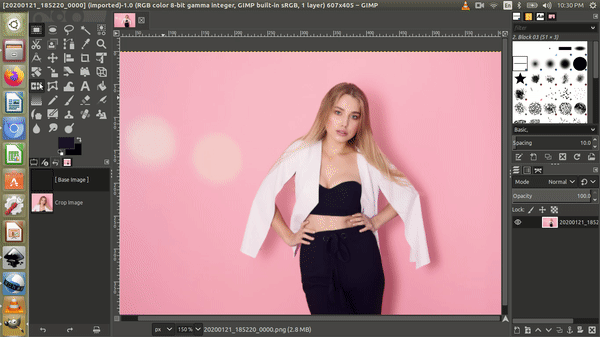
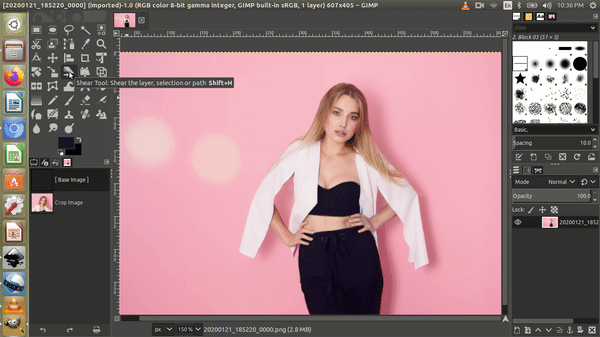
09.Shear tool
The shear tool is useful to shift an image in a certain direction.
Shear tool hotkey: Shift+S
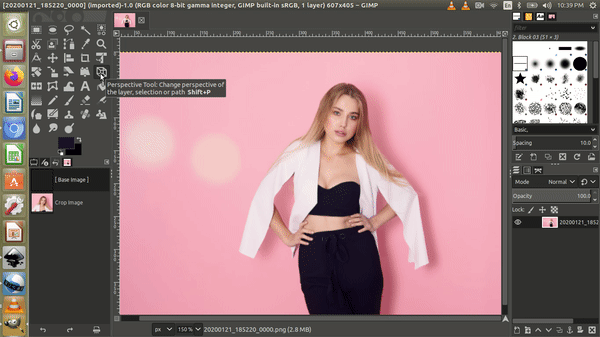
10.Perspective tool
In professional image editing we always need to change the perspective of the image to create masterpieces. By using perspective tool we can do that easily.
Perspective tool hotkey: Shift+P
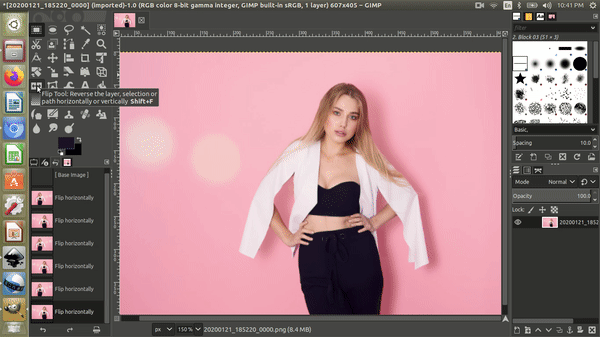
11.Flip tool
By using this tool we can turn over the image vertically or horizontally.
Flip tool hotkey: Shift+F
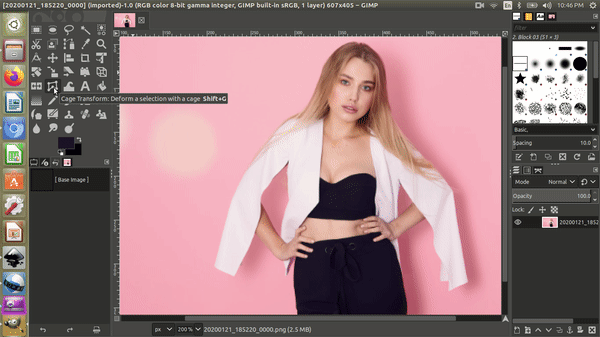
12.Cage transform tool
This tool is used to alter or change the shape of an image. You can select the transforming area by clicking with the mouse point and drag points until the shape of the image alters.
Cage transform tool hotkey: Shift+G
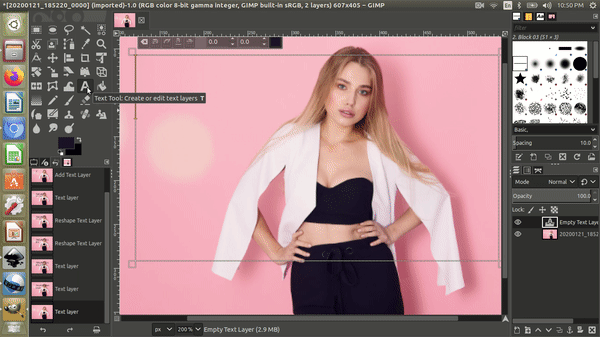
13.Text tool
All image editors have features to add and edit texts. By using GIMP text editor we can add and edit texts with different fonts,colors and sizes.
Text tool hotkey: T
14.Bucket fill tool
If you need to fill an area with color then you can do it with bucket fill tool.Just select the area then activate bucket fill too and click on the area to fill with the color.
Bucket fill tool hotkey: Shift+B
15.Blend tool
Besides being an open source software GIMP has many professional tools. Blend is such a tool. By using this tool you can fill an area with a color gradient shapes.
Blend tool hotkey: L
16.Pencil tool
By using pencil tool you can draw lines on the active layer and edges of the lines are hard.Also you can change the opacity and size of the lines by changing its settings.
Pencil tool hotkey: N

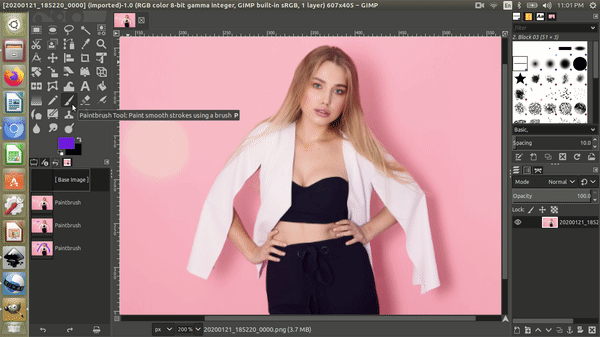
17.Paintbrush tool
This is very similar to pencil tool and difference is the edges of the lines are smooth.
Paintbrush tool hotkey: P
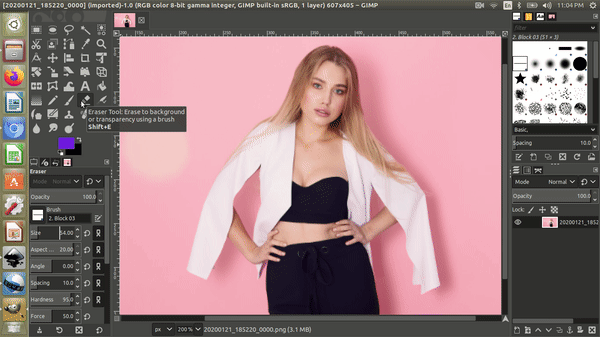
18.Eraser tool
By using the eraser tool you can rub out or erase unwanted areas of the image.
Eraser tool hotkey:Shift+E
19.Airbrush tool
This is another cool tool in GIMP and use to apply paint over the images with various pressures.
Airbrush tool hotkey: A

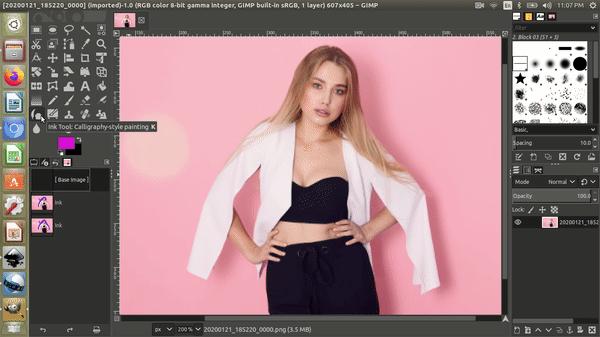
20.Ink tool
Ink tool acts like an ink pen.This tool can use to draw different objects on the active layer.
Ink tool hotkey: K
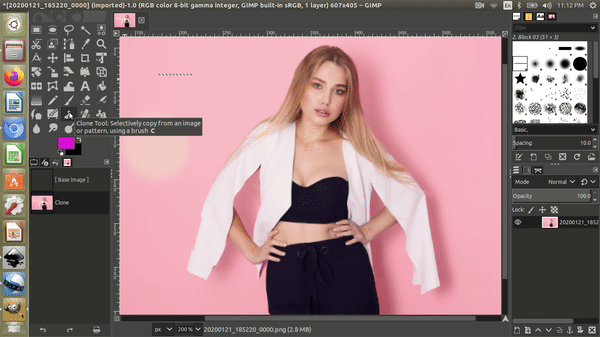
21.Clone tool
By using the clone tool you can selectively copy parts of an image on the active layer.
Clone tool hotkey: C
22.Healing tool
The function of the healing tool is mostly similar to the clone tool nevertheless it is sharp enough to any small defects.
Healing tool hotkey: H
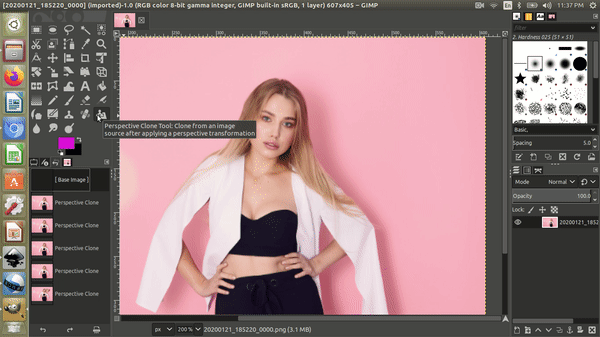
23.Perspective clone tool
Once you change the perspective of an image then you can use perspective clone tool to make a duplicate copy of that.
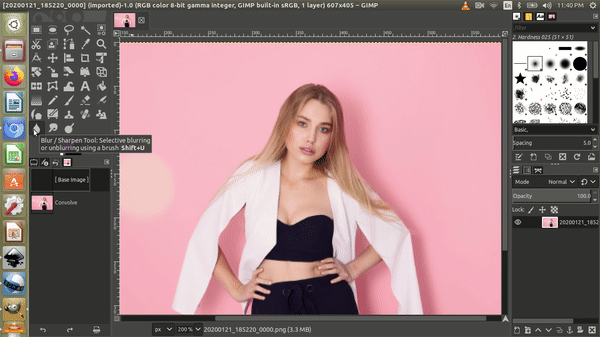
24.Blur/Sharpen tool
When we editing we need to blur or sharpen some part of the images then we can use Blur tool to do that.
Blur tool hotkey: Shift+U
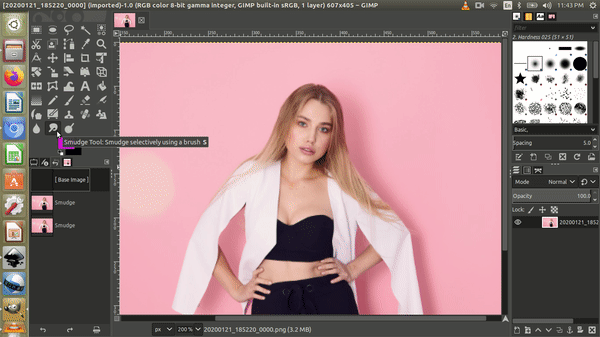
25.Smudge tool
By using this tool you can smudge the colors on the current layer.
Smudge tool hotkey:S
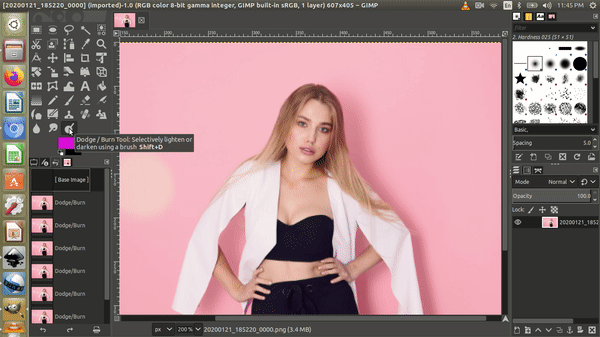
26.Dodge/Burn tool
By using dodge tool in GIMP we can darken or lighten selected areas of the image.
GIMP filters overview
Gimp has a number of professional filters that we can use to advance the images. Following are some of the main GIMP effects.
- Artistic effects
- Beautify effects
- Blur effects
- Combine effects
- Decoration effects
- Distorts effect
1 comment
Great content! Super high-quality! Keep it up! 🙂